
 by flex
Drum Microphone Technique
If there’s a mic here that you heard and were impressed with, I’d suggest getting one. It’s an easy way to quickly improve the sound of your kick drum. I discovered one or two in this lineup that I plan to get.

As I started discussing how to execute this shootout with other engineers, someone said, “Lots of people use two mics on kick.” I know that’s true — I’m one of them. I decided that since we were setting all of this up, it would be easy to just add a few options. So I put up the mics you see pictured above. If you’ve never had a chance to use these on kick drum, now you can hear what you’re missing. I recorded these three mics with each pass and included those tracks with the download sessions so you can add them in and see what different combinations sound like.
Shure Beta 91A boundary mic — Most engineers just toss it inside on a pillow and it sounds great — and it’s so easy.
Neuman U 47 FET — Whether on kick drum or bass amp, it sounds great — there’s a reason that it’s a standard.
Royer R-121 — Position this several inches away from the resonant head at 45 degrees to the front head. “You’ll blow it up!!” I frequently hear. Well, my R-122 (the active version of the R-121) has been parked in front of every kick drum I’ve recorded since 2004, and that’s a lot of kick drums. It’s never been re-ribboned once. (Heresy, you say? Don’t believe me? Look in the Royer manual. It’s got a picture of how to do it. No kidding.)
Download the original 24/96 files here.
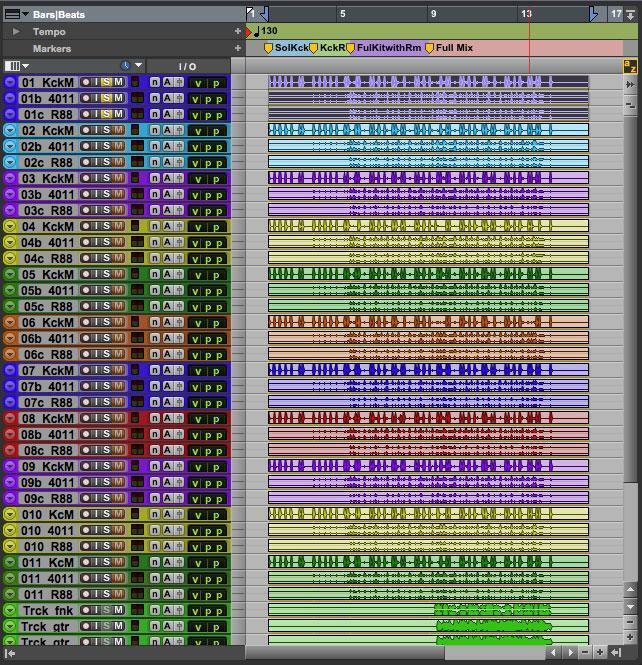
If you want to hear the full-resolution recordings and access these extra mic tracks, you can download the 24-bit/96kHz files (440 MB) by clicking here. For Pro Tools users, set your Pro Tools session for Solo X-OR [find it at Options > Solo Mode > Solo X-OR (Cancels Previous Solo)], and you can listen to each mic by soloing that track. For non-Pro Tools users, there is a folder named Audio Files inside the Kick Drum Mic Shootout folder. Select all those files and import them directly into a 24/96 session that you create with your DAW. The files are named so that the tracks should stay in the proper sequence and groupings. All the files are identical in length and have the same start time, so you can import them to start at the beginning of the session. The tempo is 130 bpm in case you want to line them up on a grid. Check out the included READ ME file if you have any questions about how to use the sound clips.
CREDITS: Thanks to Sweetwater Studios staffers Dave Martin, Krystal Davis, Bobby Dellarocco, and Nicholas Morrow for their help imagining and executing this shootout. I couldn’t have done it without them.
About Lynn Fuston
Lynn Fuston spent 37 years behind recording consoles in dozens of studios in Nashville, as well as doing remote recordings around the globe. In addition to his time at the board, he’s been a contributing writer/editor for recording magazines such as EQ, ProSound News, Audio Media and Pro Audio Review since the ’90s. His studio work on Gold and Platinum-selling records with iconic Christian artists such as Amy Grant, Michael W. Smith, DC Talk, Russ Taff, Twila Paris, Kathy Troccoli, and countless others gives him a unique perspective on the artistry and technology of recording. He also produced the world-renowned 3D Audio CDs, a series which allows listeners to compare mics, preamps, analog-to-digital converters, DAWs, and summing, giving them the ability to hear the differences in their own spaces. He has hosted recording forums since 1998, both on the internet (3dB) and Facebook (3D/FB). Fuston is now the Manager of Written Content for Sweetwater’s web and print publications. Read more articles by Lynn »